Whenever I think of “Blocking”, I think of my all-time favorite comic strip “Peanuts” by Charles Schultz. Lucy, Peppermint Patty and probably Sally always used to say, “You blockhead!!” at the boys (Charlie Brown, Linus etc.). Yes I’m known for making silly associations ![]()
 Cover of one Peanuts comic book from my huge collection
Aaaaaanyways. I never used to block anything because I only knew how to make ribbed scarves and Jean Greenhowe toys, but as I slowly attempted garments, cables, laces etc. I finally understood this important step in knitting, crochet, tatting etc.
I am still relatively new to this of course, but I thought it might help other beginners to see how fantastic blocking is. I thought mom’s Sea Foam scarf would be the perfect example.
According to Montse Stanley, author of Knitter’s Handbook (THE book to get for knitters), “To block is to give a permanent set to knitting”. It conditions the yarn so that it will keep the shape of the stitching, that is, to keep the piece looking like you intended it to. Stanley says that it “improves the performance” of your knitted pieces.
By blocking, you can fix minor flaws (uneven knitting etc.). Also, say you’ve knitted two sleeves but one is shorter, to some extent, blocking will help to fix this problem. and you know that stockinette stitched swatch that curls up its got something to hide from you? Blocking will make it flat so you can see the clean lines of the finished piece. Blocking makes your lacework look professional too ![]() It’s tempting to skip blocking, especially with scarves, but don’t! Trust me, as you shape the garment on the towel, it’s really exciting!
It’s tempting to skip blocking, especially with scarves, but don’t! Trust me, as you shape the garment on the towel, it’s really exciting!
All you do really, is to dampen and shape the piece. That’s what blocking is.
You will need:
- old towels (that are big enough for your piece, you might need more than one);
- quilting pins (I use LOTS teehee);
- measuring tape or ruler;
- spray bottle filled with plain water; &
- (if desired) foam pieces that are big enough for your piece (I bought medium density foam from Clark Rubber in Australia).
I like to use the thick pieces of foam because I like to pin the pieces by poking into the foam, rather than at an angle.
Step 1: Take your knitted piece, stretch it, pull it (both gently) and decide how much you want to shape it in order to enhance the pattern, or how long your pieces needs to be.
Example: I decided on the width of the Sea Foam scarf (7.5″).
SHAPING
Step 2: Lay your towel on your work surface/foam and then your piece on top. Working from one end to the other, pin the piece onto the towel, and check that you’re pinning the piece to the exact measurements.
Example: I pinned the scarf edge so that it was straight, and then working along the length of the scarf, I gently pulled it lengthwise (in short sections) to what I considered would bring out the lacework most beautifully, pinning it down along the sides, always checking that the width of the piece was stretched to 7.5″. Below, you can my shaping in progress:
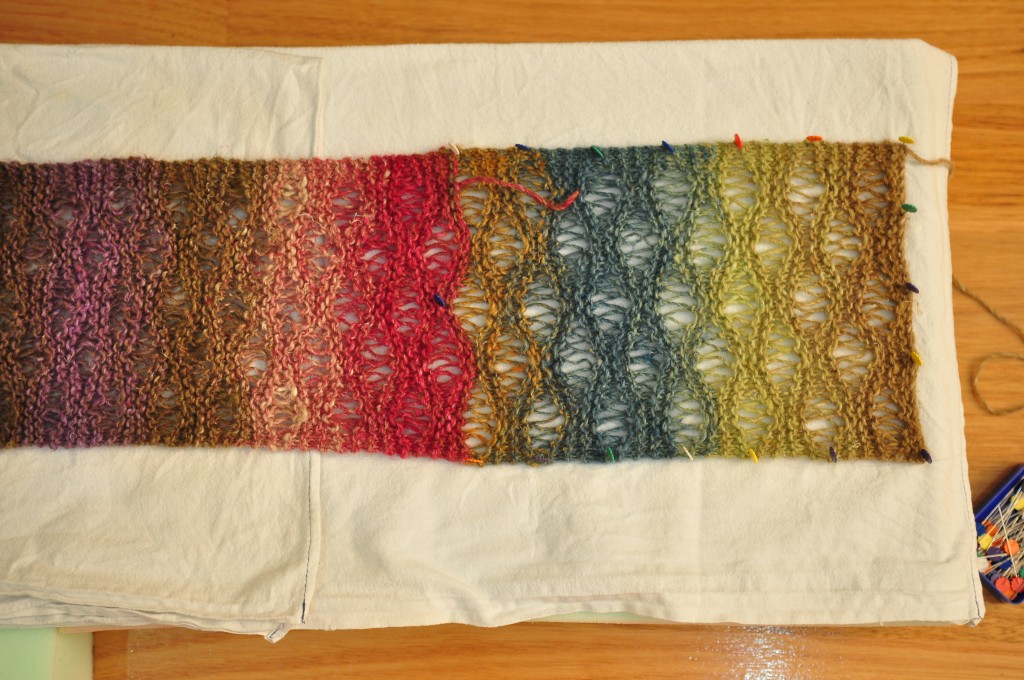 It’s taking shape!!
Compare the before and after photos below and take note of how the yo (yarn over) pattern is “revealed” by stretching the piece out:
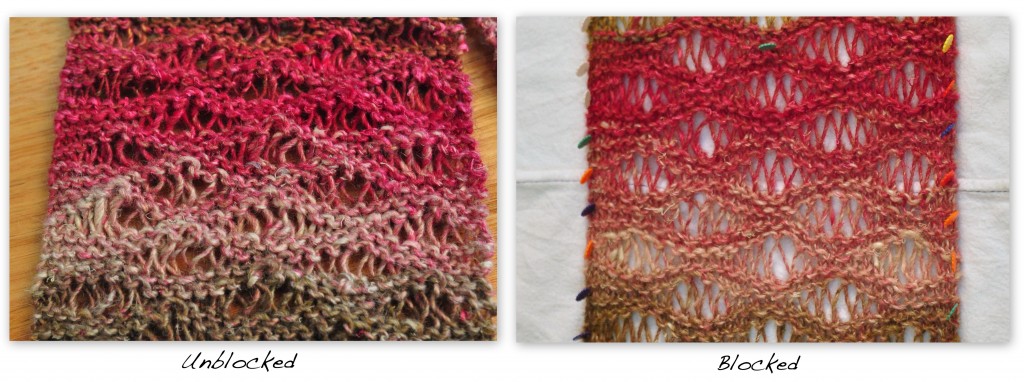 No use taking the time to block if you’re not going to straighten straight-lines! So if that means you’ll be using gazillions of pins, so be it!
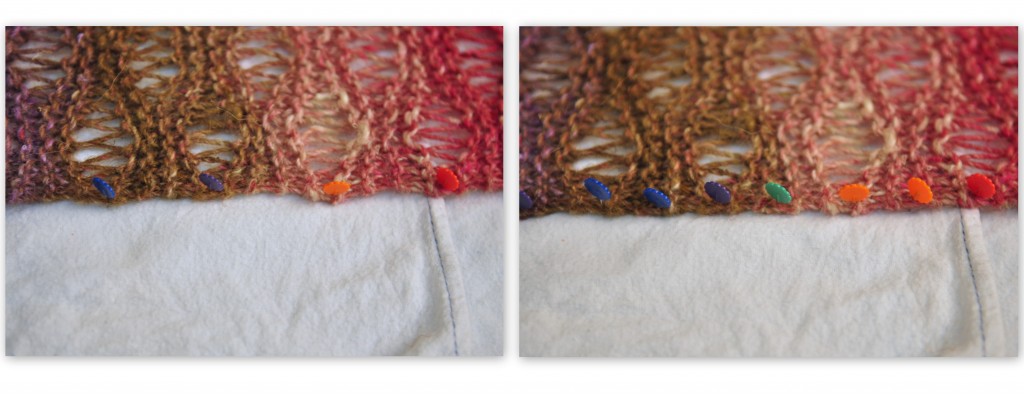 Use pins anywhere in the piece! I placed a pin in the center of the piece every now and then to help even out the lengthwise stretch of the pattern.
DAMPEN
Step 3: Get your spray bottle filled with water, and spray the piece in sections to make sure you’ve covered it all. The point isn’t to make the piece dripping wet, but to have the entire piece damp.
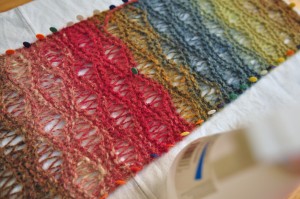 Not that you can see the water droplets in this photo :p
Then leave piece to dry on the towel overnight, away from direct sunlight.
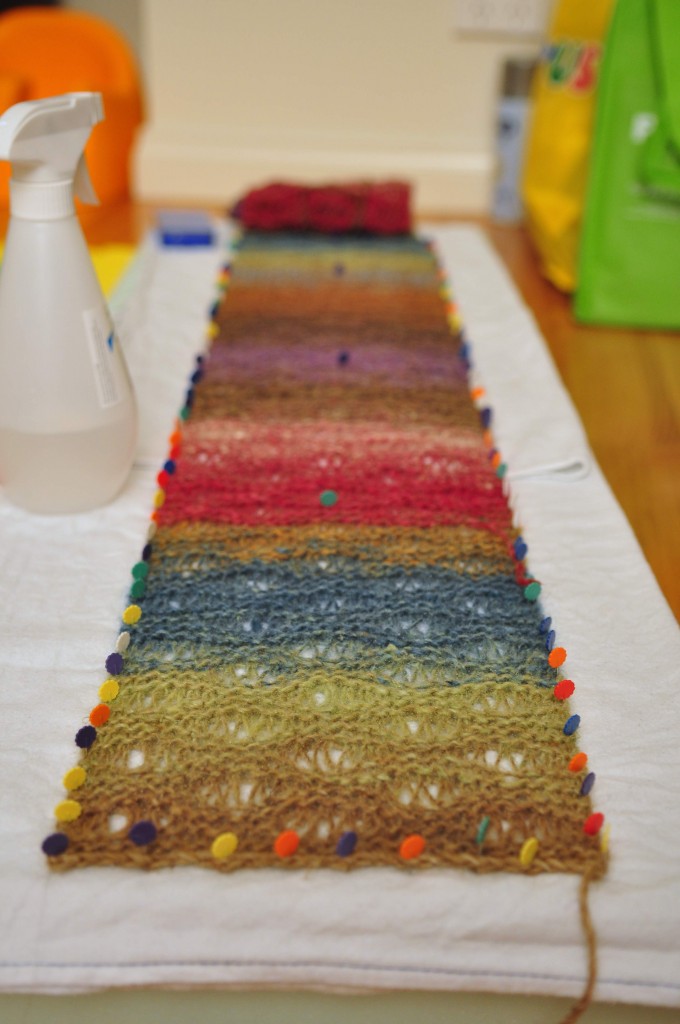 Sweet dreams, my dear blockhead blocked scarf
Once it is completely dry, you can take out the pins!
My foam block wasn’t long enough for the scarf so I blocked over two nights. Good thing is, that meant I could take pictures to show you the difference pre and post-blocking ![]()
Most people will weave in the ends before blocking, but I like to do so after, so that the ends don’t come out from all the shaping I do while blocking.
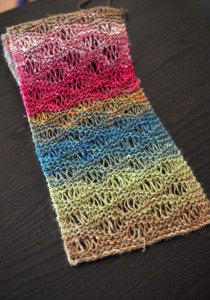 Voila!
Dimensions unblocked: 6.25″ x 46″
Blocked: 7.5″ x 57.5″
In the end, my mom helped me with weaving the ends in because she’s better at it!
I wanted to make sure mom took it home with her today so I didn’t have time to take more photos, sorry! However, I made sure I took one of mom posing with her new pressie ![]()
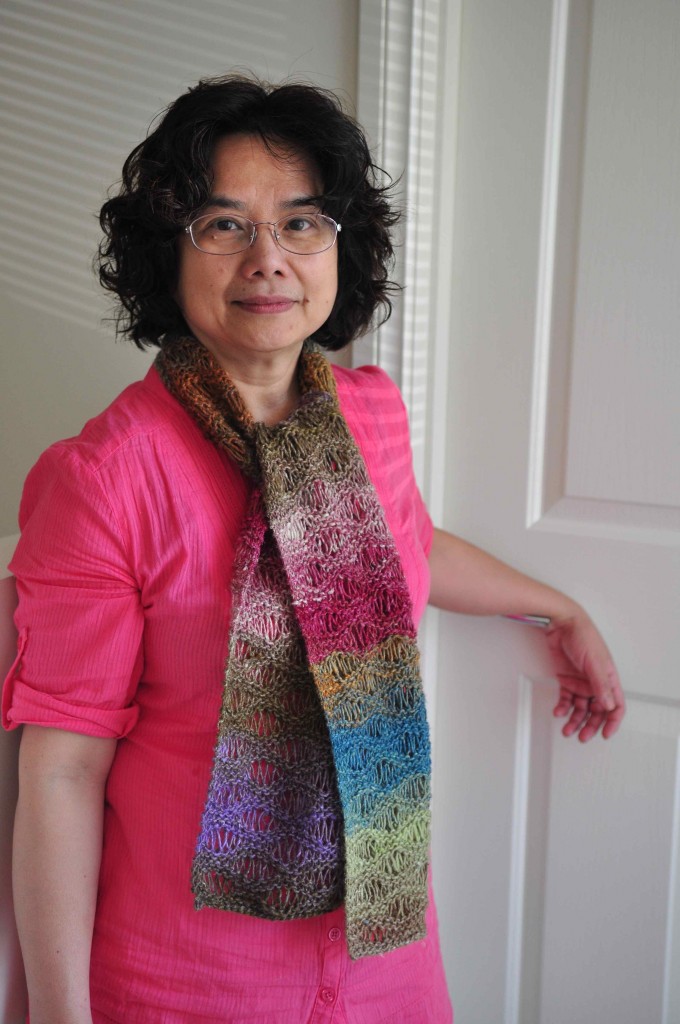 I think it suits her, don’t you think?
I hope this post helps anyone new to blocking ![]()


wow! i didnt realise that blocking made so much difference! i definitely have to think about it next time! the scarf is beautiful – where did u get the yarn??
I bought the yarn in Geelong, BUT, I know you can get all Noro yarn from Morris and Sons (in Melbourne CBD), WoolBaa (South Melbourne) and SunSpun (Canterbury).
Hope that helps!! And why haven’t I seen your knitting already???